Jira has become a cornerstone tool for software development teams, providing robust project management capabilities, issue tracking, and seamless collaboration. However, maximizing its potential requires a structured approach tailored to your team’s goals and workflows. Some users may claim to hate Jira, but I believe this opinion can change due to how it is implemented for its users. Ensuring your projects are delivered on time, within scope, and with optimal efficiency becomes simple when Jira is properly implemented. Let’s explore 10 key steps to achieving successful software development using Jira.

1. Define Your Project Goals and Objectives
Before diving into Jira, clearly define what success looks like for your project. Break down high-level goals into measurable objectives. This clarity ensures your team stays aligned and can leverage Jira’s tracking tools effectively.

You can track these goals and objectives by logging the details or whiteboards to Confluence during working sessions. Additionally, you can create a project charter that outlines the project’s vision, objectives, scope, and success criteria. Through these collaboration sessions, you can define SMART goals (Specific, Measurable, Achievable, Relevant, Time-bound.) Users can document these goals in shared pages, ensuring all stakeholders have access to the same information. Once completed, you can link Confluence pages directly to Jira projects to maintain alignment between strategic goals and day-to-day tasks.
In addition to this, you can use OKR tools (Objectives and Key Results) such as oboard.io. These help break down each objective into actionable tasks that can later be represented as epics or user stories in Jira. To see how Oboard integrates with Jira, check out this blog.

For teams looking to work with simpler technology, Google Workspace or Microsoft 365 work just as well. Use Google Docs, Google Sheets, or Microsoft Word/Excel to collaboratively draft project objectives, key deliverables, and timelines. Share those spreadsheets for tracking high-level goals, which can later be imported into Jira as backlog items or epics.
2. Set Up Your Jira Project and Structure
Choose the appropriate Jira project type based on your team’s workflow:
- Scrum Projects for iterative, sprint-based development.
- Kanban Projects for continuous workstreams.
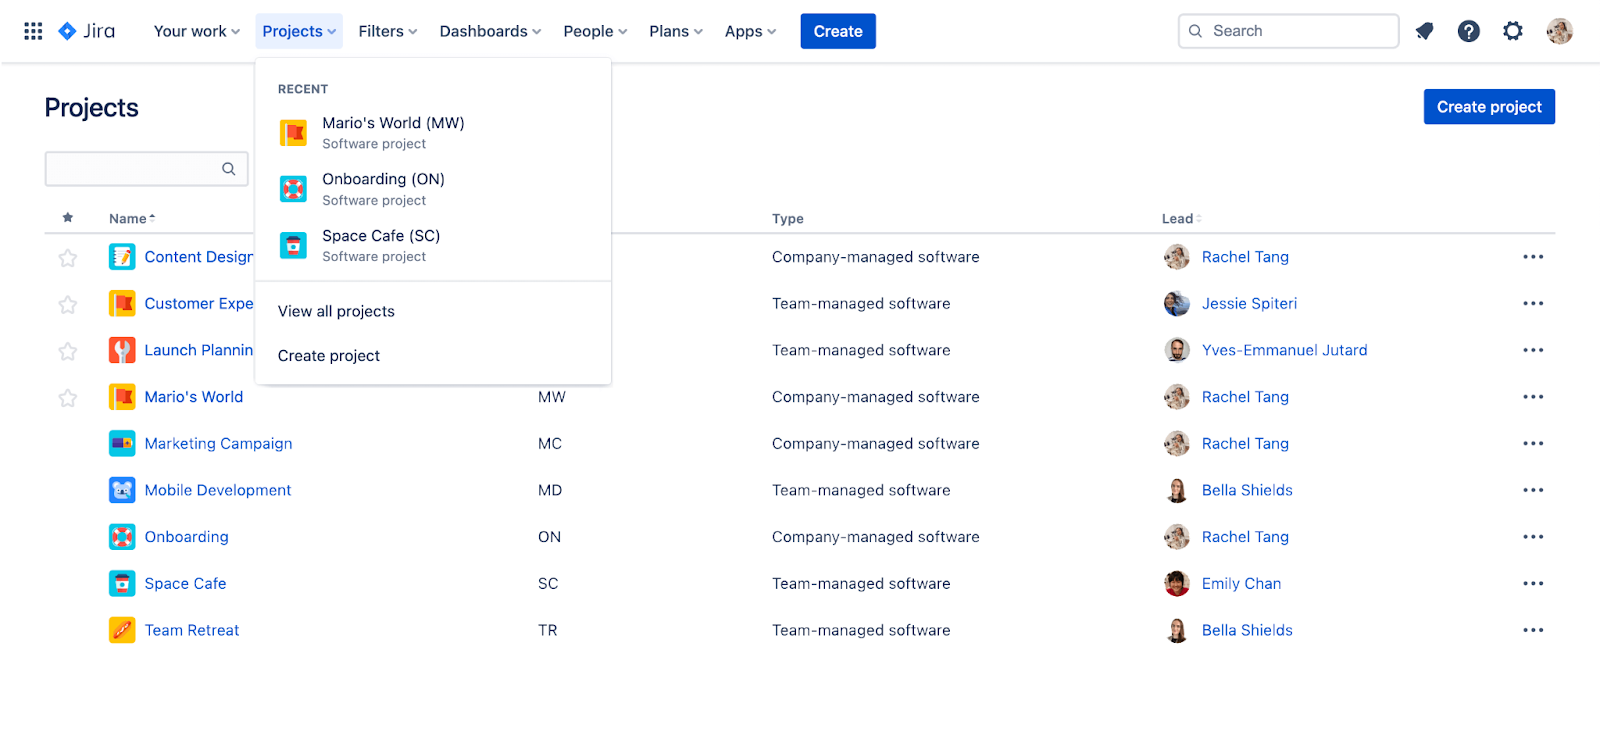
- Team-Managed or Company-Managed Projects depending on the scale and autonomy required. This is a key point to ensure governance. Team-managed projects will have more freedom (to scale drastically), while Company-managed projects will have more structure and governance applied.
- Create custom issue types, workflows, and fields that reflect your unique development process.
3. Customize Workflows to Match Your Process
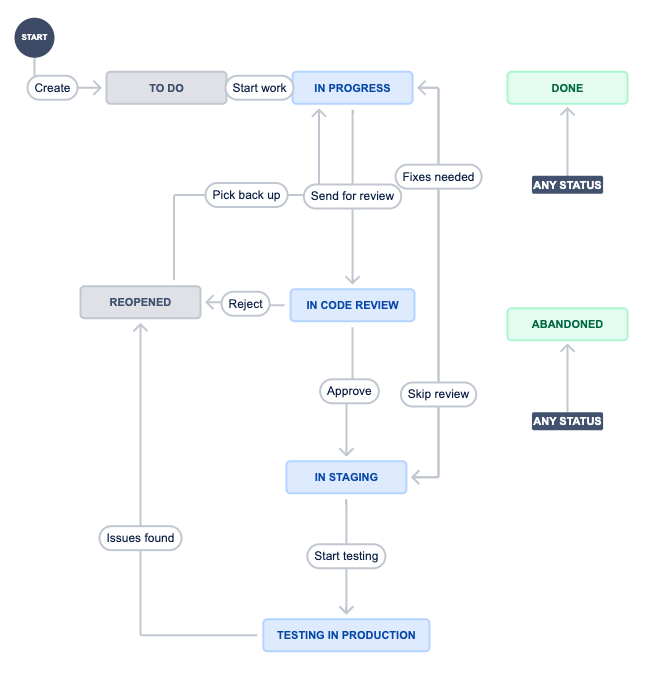
Tailor workflows to mirror the stages of your development lifecycle, such as:
Backlog -> In Progress -> Code Review -> QA Testing -> Done
Include automation rules to streamline transitions, notify stakeholders, or update fields when tasks move between stages. Be careful here, however. The more custom the workflow, the more complicated the workflow, which could lead to confusion with users. It’s best to have a workflow that maps to the way your team works without making it hyper-complicated.
4. Prioritize Your Backlog with Clarity
A well-prioritized backlog ensures your team focuses on the most impactful tasks first. Use Jira’s ranking features or custom filters to sort and categorize tasks by priority, dependencies, or deadlines. Integrate tools like Confluence to link detailed requirements directly to Jira issues. For those that need more granular features for backlog prioritization, we recommend the Foxly plugin called “Backlog Priority Scoring app for Jira Cloud.”
5. Leverage Agile Boards for Transparency
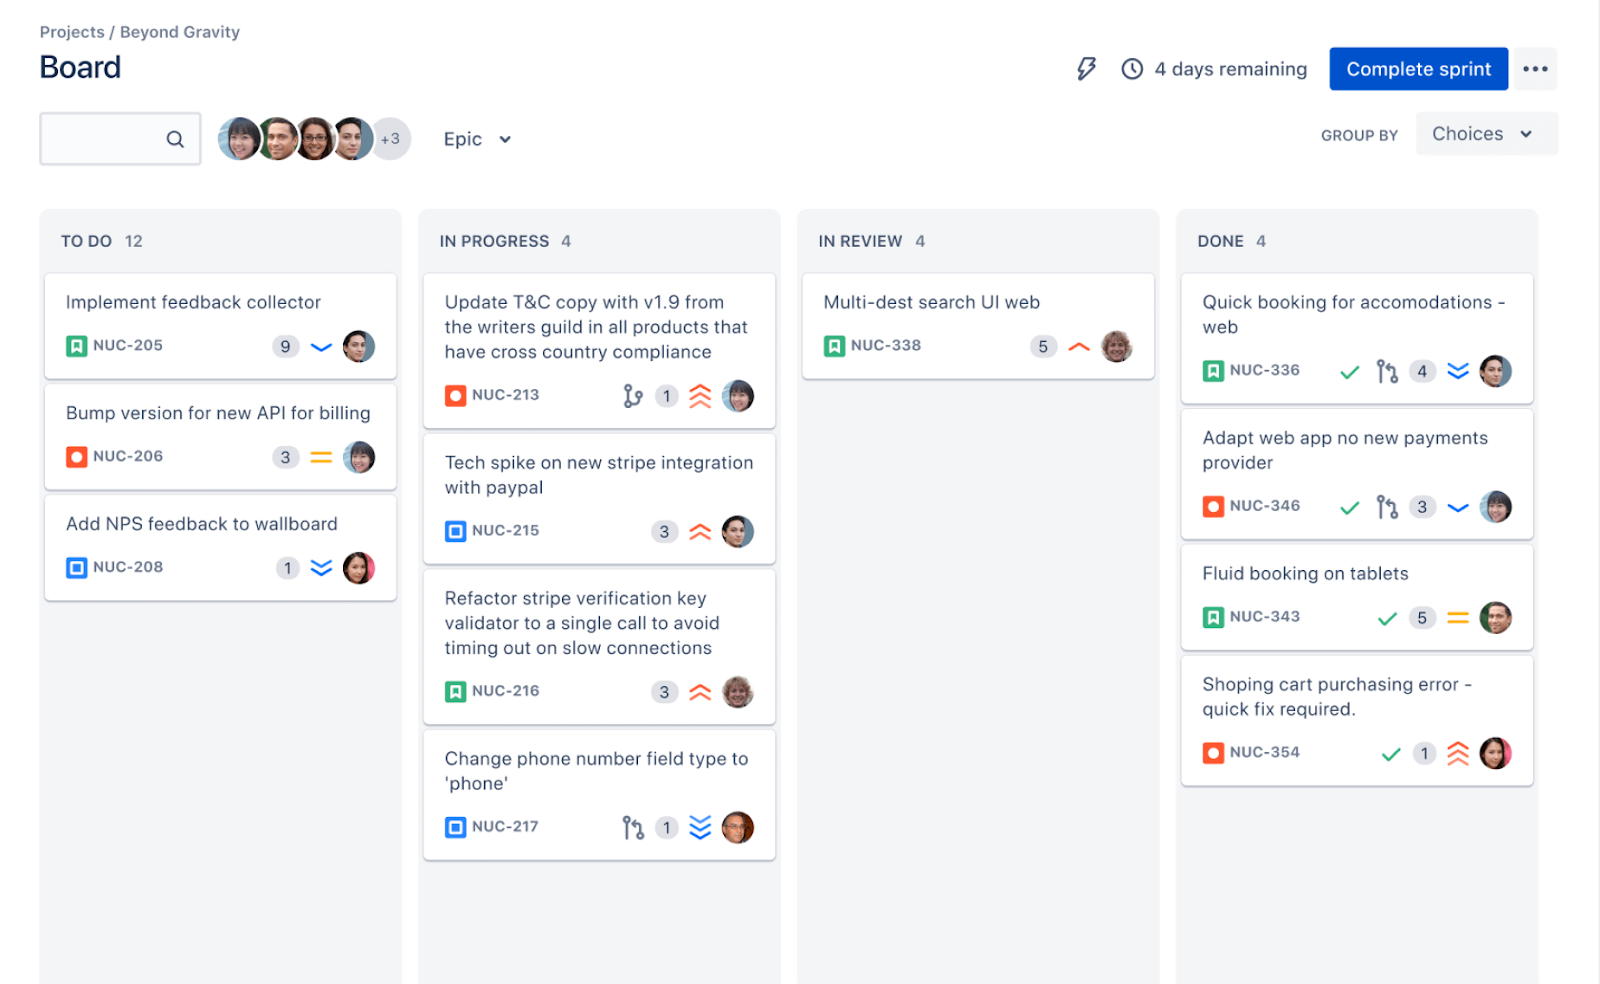
Agile boards provide a visual representation of your team’s progress. Making work more visible is key to establishing a culture of transparency. You can use these boards in Jira to:
- Monitor work status in real time
- Identify bottlenecks in the workflow
- Enable team members to collaborate and communicate effectively
Furthermore, allowing other stakeholders to access these boards is a great way to reduce the amount of unnecessary communication about the status of something. Additionally, it gives stakeholders a view of the priorities and actions being taken by the team.
6. Track Progress with Reports and Dashboards
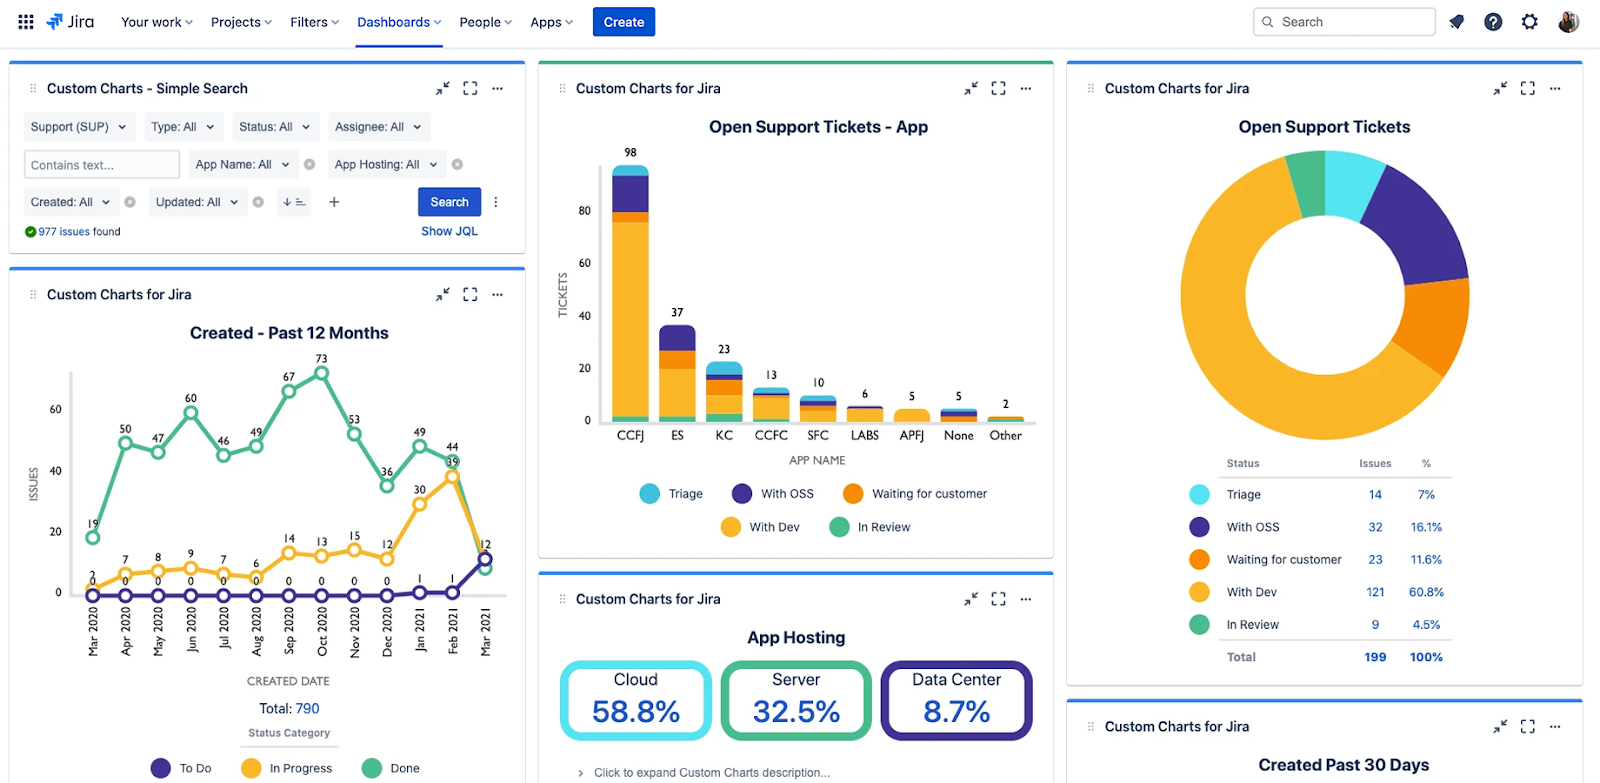
Jira offers a range of built-in reports, including burndown charts, velocity charts, and cumulative flow diagrams. Set up dashboards to track key performance indicators (KPIs), such as:
- Sprint progress
- Bug resolution rates
- Story points completed
These insights empower your team to make data-driven decisions and course-correct where needed. In the event you need more reporting for Jira data, you have a few options.
Custom Charts plugin for Jira by Tempo Software revolutionizes how teams interact with their Jira data. Custom Charts provides dynamic, customizable dashboards tailored to your needs. This includes aid for agile project tracking, IT service management, marketing, and HR tasks. All of this is done without requiring coding or JQL expertise. Features like drag-and-drop functionality, 2D charting, enterprise-level reporting across multiple teams, and seamless integrations elevate transparency and collaboration. These integrations include tools like Confluence, Advanced Roadmaps, and ScriptRunner. Custom Charts streamlines reporting and simplifies sharing dashboards with external stakeholders. It empowers teams to make data accessible, actionable, and impactful. As a Tempo Software and Atlassian partner, SPK and Associates can help you maximize your Jira experience with tools like Custom Charts.
You can also integrate Jira to your Power BI instance and write reports from there.
7. Integrate Jira with Development Tools
Jira seamlessly integrates with tools like Bitbucket, GitHub, and GitLab, enabling developers to link commits, pull requests, and branches to Jira issues. This integration provides end-to-end visibility into your development lifecycle.
8. Foster Collaboration Across Teams
Collaboration is key to successful software development. Using Jira, you can create a culture of collaboration and accountability. You can use Jira to assign tasks and responsibilities, as well as rack progress and share updates.
I’ve seen organizations flourish by allowing teams to collaborate and be accountable for their assigned tasks. This includes speaking up at daily standup meetings when there is a blocker or challenge. These tasks in Jira can be used to swarm a problem, and even link to Confluence pages for detailed documentation. Doing these small things encourages cross-functional teams to break down silos and streamline communication within Jira.
You can integrate Jira with many of your communication tools such as Microsoft Teams or Slack through simple integrations. This prevents the issue of leaving one tool to go to Jira and create a ticket. You can use the existing tools simultaneously, which means less context-switching.
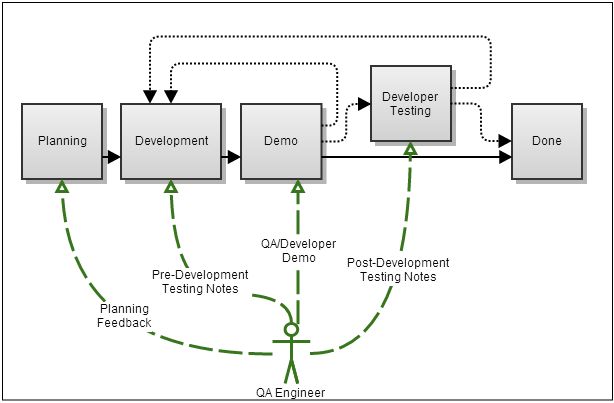
9. Maintain a Strong QA Process
Ensure your testing efforts are well-integrated with Jira by creating dedicated workflows or issue types for bugs and testing tasks. Use labels and filters to track QA progress. Additionally, integrate with testing tools like Zephyr or Xray for deeper insights into test coverage.
10. Continuously Improve Through Retrospectives
After each sprint or project milestone, conduct retrospectives to evaluate what worked and what didn’t. Conducting retrospectives at the end of each sprint is a vital part of agile workflows. Jira makes this process seamless by allowing natively documented feedback or feedback within Confluence. By creating a dedicated retrospective board or project, teams can gather feedback, identify successes, add labels for the sprint name/number, and pinpoint areas for improvement. Jira’s customizable issue types and workflows allow you to document action items, assign ownership, and track progress on improvements identified during the retrospective. With Jira, retrospectives become a structured, actionable process that drives continuous improvement sprint after sprint.
Are You Ready For A Successful Jira Implementation?
Jira is a powerful tool that can transform the way your team manages software development, but its success depends on how well it’s tailored to your processes. By following these 10 key steps, you can unlock Jira’s full potential, enabling your team to collaborate effectively, track progress seamlessly, and deliver high-quality software efficiently.
Ready to take your Jira setup to the next level? At SPK and Associates, we specialize in helping teams optimize Jira for maximum impact. Contact us today to learn how we can support your software development journey.


